
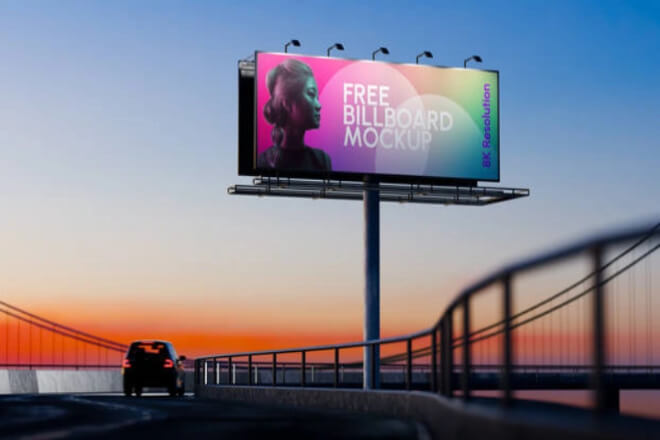
يعرض الصمام are becoming increasingly common, appearing almost everywhere from مراكز التسوق and conference rooms to outdoor advertising.
They not only attract attention but also efficiently convey information.
However, many people who buy a screen don’t know how to make it truly valuable—the screen is bright.
But the content is unclear, the colors are inaccurate, or the playback management is extremely troublesome.
This article will guide you through seven steps to systematically understand how to set up your LED display to its optimal state, making it both beautiful and functional.
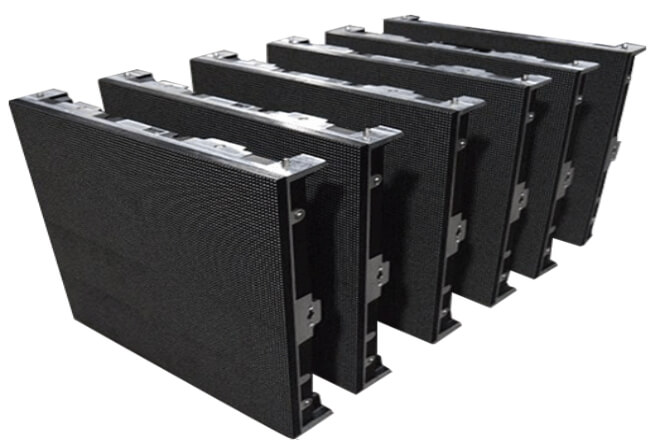
1). Why is the model so important?
You can’t just buy any LED screen and use it.
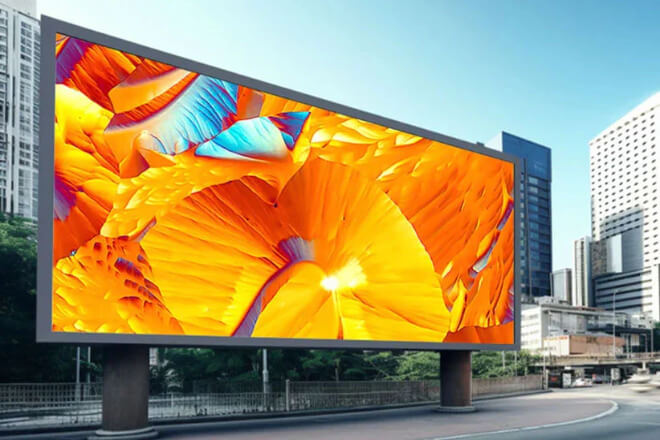
Indoor screens with too high سطوع will be glaring, while outdoor screens with insufficient brightness will be unreadable in direct sunlight.
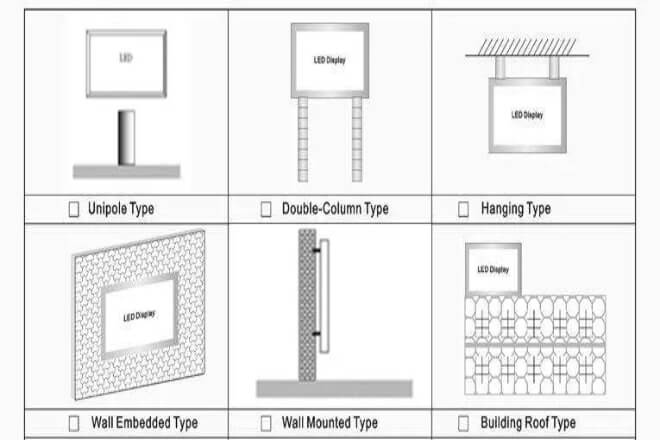
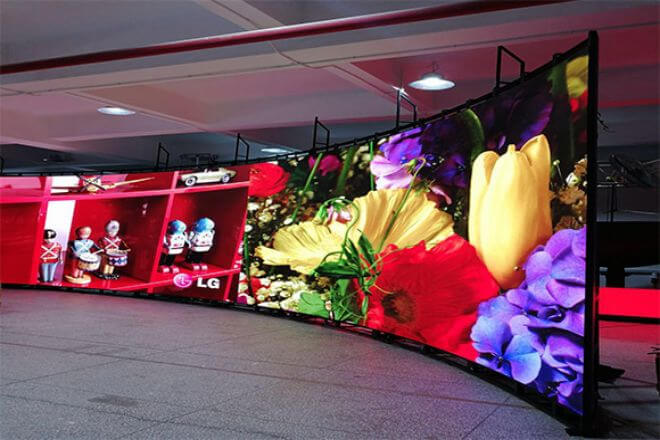
Transparent screens are suitable for glass curtain walls, but may not be suitable for the main منصة of a shopping mall lobby.
Simply put: different scenarios require different screens.
Choosing the wrong one not only results in poor performance but also in expensive maintenance and may even directly affect the viewing experience.
2). How to choose the right size for the venue? What to Consider Regarding مساحة وحدة الصورة و دقة
When close to the screen, a smaller pixel pitch is better; when farther away, a smaller pitch isn’t necessary.
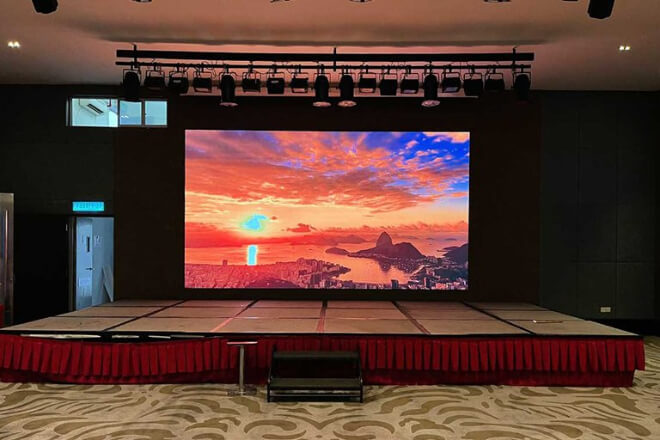
For example, in conference rooms and live streaming studios, small pixel pitches like P1.2 or P1.5 are ideal.
In outdoor plazas and stadiums where viewing distances are several meters or even tens of meters, P4, P6, or P10 are sufficient.
Tip: Optimal عرض المسافة ≈ Pixel pitch (mm) × 1000
For example, for a P2.5 screen, a viewing distance of approximately 2.5 to 7 meters is most comfortable.
3). How to Choose Brightness, Contrast Ratio, and Color Performance
سطوع: 600–1200 nits is sufficient indoors; 4000 nits or more is needed outdoors.
نسبة التباين: Higher contrast ratios create a more layered image, especially important in bright outdoor light, where low contrast will make the image appear hazy.
لون: Primarily depends on the LED chips and control system. Color accuracy, color cast, and the faithful reproduction of brand videos are all crucial.
In short: First consider the scenario, then the distance, and finally the parameters. Choosing the right model is crucial for successful debugging and optimal display performance.
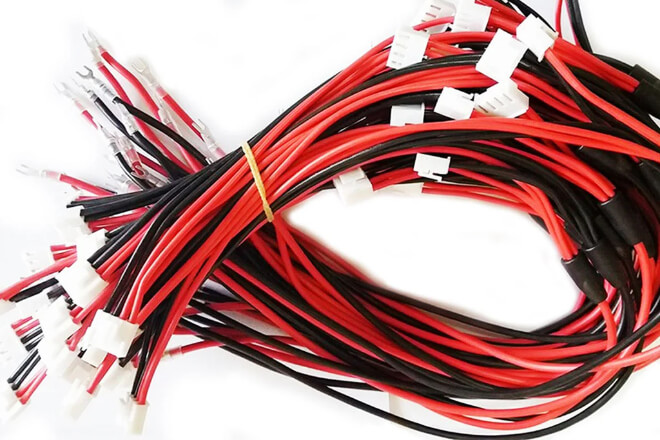
For an LED display screen to operate stably and for extended periods, the configuration of its power supply and cables is crucial.
An inadequate power supply can cause screen flickering, frame drops, and even shorten its lifespan.
Therefore, when selecting a power supply, first determine the total power consumption of the screen.
And then choose a power supply slightly larger than the total power consumption to allow for a safety margin.
Additionally, if possible, it’s best to equip critical locations with a UPS or backup power supply so that even in the event of a sudden power outage, the screen won’t instantly go black.
Cable routing also requires attention. Randomly strung power and signal cables are not only easily damaged but can also cause signal attenuation or interference.
It’s best to run cables neatly along walls or conduits, securing them with cable trays or cable ties.
Power and signal cables should be laid separately to reduce interference and facilitate future maintenance.
Power and signal cables should be as short and thick as possible to avoid voltage drops or signal attenuation over long distances, ensuring the screen always receives a stable current and data.
Besides power supply and cabling, electromagnetic interference is another easily overlooked issue.
LED displays are sensitive to interference. If there are high-powered devices, wireless transmitters, or air conditioners nearby, the screen may flicker or lose signal.
Therefore, during installation, try to keep the screen a certain distance from these devices. If necessary, use shielded cables or power filters to reduce interference.
After installation, test for several hours to ensure the screen and surrounding equipment do not interfere with each other.
In general, only with a stable power supply, neat cabling, and minimal interference can an LED display work stably for a long time, providing a clear and smooth image and truly achieving its best effect.
After the LED display is installed, placement alone is not enough. Brightness, contrast, and color calibration are crucial for a good image.
First, adjust the سطوع. The lighting conditions vary greatly in different scenarios.
Indoor lighting is soft, while outdoor sunlight is direct, requiring completely different brightness levels.
Some LED screens can automatically adjust their brightness according to ambient light, which is very convenient.
If this function is not available, manual adjustment is required to ensure the screen is neither too bright nor too dark to see details.
Remember, proper brightness adjustment ensures a comfortable viewing experience and better conveys content.
Next is contrast. A screen with high contrast produces images with more distinct layers, clearly displaying details in both dark and bright areas.
Especially when displaying videos, images, or text, high contrast makes the content more three-dimensional and vivid, conveying information more accurately.
When adjusting, start with the grayscale and shadow areas of the image as a reference, gradually fine-tuning until the visual effect is natural and comfortable.
Finally, color calibration. Inaccurate colors on an LED screen can result in color casts or unrealistic images.
Significantly impacting the viewing experience, especially for brand promotions and product displays.
Color calibration involves considering not only the screen itself but also the lighting environment, viewing angle, and content type.
Using professional color calibration tools or built-in color adjustment software, you can fine-tune the three primary colors (red, green, and blue) to ensure true-to-life colors that meet display requirements.
In summary, brightness, contrast, and color calibration are key steps in making LED screen images “look good.”
Properly adjusted, the screen not only conveys information clearly but also provides viewers with a comfortable and vivid visual experience, making your content truly engaging.
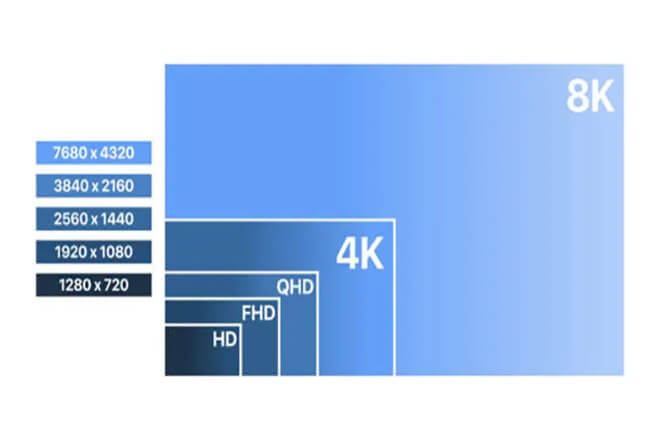
To make an LED screen truly visually appealing, دقة and the content being displayed are crucial. Resolution determines the clarity and detail of the image.
If the resolution is too low, the image will appear grainy, text will be blurry, and image details will be lost, resulting in an uncomfortable viewing experience.
A higher resolution will produce a delicate image, clear text, and a professional and comfortable overall viewing experience.
When choosing the resolution, consider the type of content you want to display.
For example, videos will appear blurry and shaky if the resolution is not high enough, especially in fast-moving scenes.
For static images or text information, the resolution can be appropriately lowered based on the screen size and viewing distance.There’s no need to pursue extremely high resolution.
In short, the resolution should match the content you display to ensure both quality and avoid wasting system resources.
Managing the displayed content is equally important. LED screens can display dynamic videos as well as static images and text information.
Through playback software, you can set up carousels, timed switching, or segmented playback to present different types of content in an orderly manner.
For example, alternating displays of advertisements, promotional videos, and real-time information not only enrich the screen content but also capture the audience’s attention, avoiding monotony.
Finally, don’t forget to test the effect. Play several different types of content to see if the brightness, detail, and color performance are satisfactory.
Fine-tune the resolution and playback order if necessary until the overall effect is natural, smooth, and attractive.
In short: With the right resolution and well-arranged content, the screen will be clear and visually appealing, encouraging viewers to watch longer and better conveying your message.
LED displays are visually appealing, but if the backend is not user-friendly, management will be a headache.
The control system and operating system are like the screen’s brain, determining how easily you can update content and adjust playback.
Let’s first discuss the choice of control system. Some screens only support local operation, allowing content settings to be directly on the screen.
Others can be remotely controlled, adjusted using a computer or tablet.
Even more advanced systems have cloud management, allowing you to upload, arrange, and schedule content whether you’re in the office or on the go.
Making it particularly suitable for simultaneous playback on multiple screens or cross-scene management.
The user interface is also crucial. Too complex, and the operation becomes a maze, easily leading to chaos; too simple, and some functions may be missing.
The ideal state is one that is both user-friendly and sufficient, including features like drag-and-drop layout.
Batch uploading, timed playback, and zoned display, making content updates much easier.
Furthermore, timed and automation functions are very practical. You can set the screen to turn on and off according to a schedule, saving power and effort.
Content can also automatically rotate or switch according to time, such as playing advertisements during the day and displaying event information or announcements at night.
In this way, the screen can almost operate autonomously, ensuring viewers see the most suitable content without you having to monitor it daily.
In short, with the right control system, a user-friendly interface, and proper automation settings, screen management becomes much easier.
Smooth content playback and natural transitions allow the LED screen to truly realize its value.
LED displays look bright and shiny, but they are actually large machines that require proper care over time.
Regular maintenance not only keeps the screen in optimal condition but also prevents unexpected problems, saving you a lot of trouble.
First, a hardware check. Every so often, carefully check the screen for any bright spots or dark spots, ensure the power supply and cables are secure.
And check for loose or worn connections, especially for outdoor screens, which are more prone to problems due to wind and sun exposure.
Also, confirm that the control system and playback software are functioning properly, and check for any delays or flickering in content playback.
Besides hardware, software and firmware are also crucial. Many LED screen manufacturers periodically release updates to fix known issues or add new features.
Keeping your device up-to-date ensures more stable operation, and new features can optimize playback.
Before updating, remember to back up your current settings, such as brightness, resolution.
And playback schedule, to avoid having to readjust them after the update, which is very troublesome.
Regarding troubleshooting, the most common problems with LED screens include screen flickering, dropped frames, signal delays, or color deviations.
These are mostly related to unstable power supplies, loose cables, or electromagnetic interference.
Keep the screen clean to prevent dust accumulation; protect it from moisture to prevent water vapor from entering the screen.
And avoid direct sunlight on the screen. These small details can reduce the occurrence of malfunctions.
When encountering problems, first check the wiring, then check the software settings. In most cases, the issue can be resolved quickly, so don’t panic.
Simply put, making regular maintenance and updates a habit is like giving your screen a “check-up.” This can greatly extend its lifespan and ensure the image remains clear and vibrant.
Spend a little time checking and adjusting, and your LED screen will work steadily, playing content smoothly.
And naturally, making for a more comfortable viewing experience and a better overall effect.